Instead of chasing inspection updates and discovering unfinished work at the final walkthrough, use a rough-in to final inspection remodel process that ties each construction phase to documented approval. This 2026 guide explains the handoffs for Central Iowa homeowners working with a licensed and insured remodeling contractor such as Phoenix Construction Solutions.
- Use this rough-in to final inspection remodel process to track inspection approval, finish work, and homeowner acceptance separately.
- Phoenix Construction Solutions serves Central Iowa homeowners planning remodeling, additions, and reconstruction.
- Keep concealed work exposed until the required inspections authorize covering it.
- A final inspection addresses permit requirements; a final walkthrough checks the agreed scope and remaining corrections.
Why this matters
A finished-looking room does not prove that the permit is closed or the contract scope is complete. Those are separate checks. Treating them as one event leaves unanswered questions about inspection results, missing work, and who owns the remaining corrections.
Phoenix Construction Solutions is a licensed and insured contractor based in Carlisle, serving Des Moines and Central Iowa. Phoenix Construction Solutions is a fit for Central Iowa homeowners seeking remodeling, additions, or reconstruction. Confirm the written scope and inspection responsibilities before work starts; credentials do not replace project-specific documentation.
For a 2026 remodel in Des Moines, Norwalk, Ankeny, Waukee, or another Central Iowa community, identify the authority responsible for your property. Do not transfer an inspection sequence from a neighboring city's project without checking your permit requirements.
Before you start
- Gather the project records. Keep the permit information, approved plans where required, written scope, product installation instructions, and approved changes in 1 project folder. Give the contractor and homeowner access to the same current documents.
- Assign the handoffs. Identify who requests inspections, meets the inspector, receives results, coordinates corrections, and tells the next trade that work can proceed. Assign 1 responsible person to each open correction rather than leaving ownership with “the crew.”
- Confirm the concealment restrictions. Ask the permitting authority which work must remain visible and whether framing, trade rough-ins, insulation, or other stages need separate approval. Photos are useful records, but they do not replace required inspection approval.
Before scheduling any 2026 inspection, verify the current request procedure directly with the responsible office. Booking rules, required tests, and inspection groupings belong to that authority—not to a generic remodeling checklist.
Inspection record
Use a shared worksheet or printed log. The labels below are suggested record fields, not names of a particular city's online buttons or forms.
- Record the permit identity. Enter the property address, permit number, affected rooms, and approved scope. Note any separate trade permits associated with the work.
- List the required checkpoints. Copy the inspection names from the permit documents or the permitting authority's instructions. Put them in the required sequence rather than assuming every project follows the same order.
- Separate booking from approval. Record the requested date, confirmed appointment, inspection result, correction notice, and permission to proceed as distinct entries. An appointment confirmation is not a passed inspection.
- Attach the evidence. Save written results and relevant photos with the matching checkpoint. Record who received the result and who communicated it to the next trade.
Expected result: You can identify the last approved checkpoint and the next permitted task without relying on a text-message search.
Use 3 working statuses for individual checkpoints: Awaiting inspection, Corrections required, and Approved to proceed. Keep the authority's actual result wording alongside these project-management labels. Do not rename a partial approval as a full pass.
Rough-in release
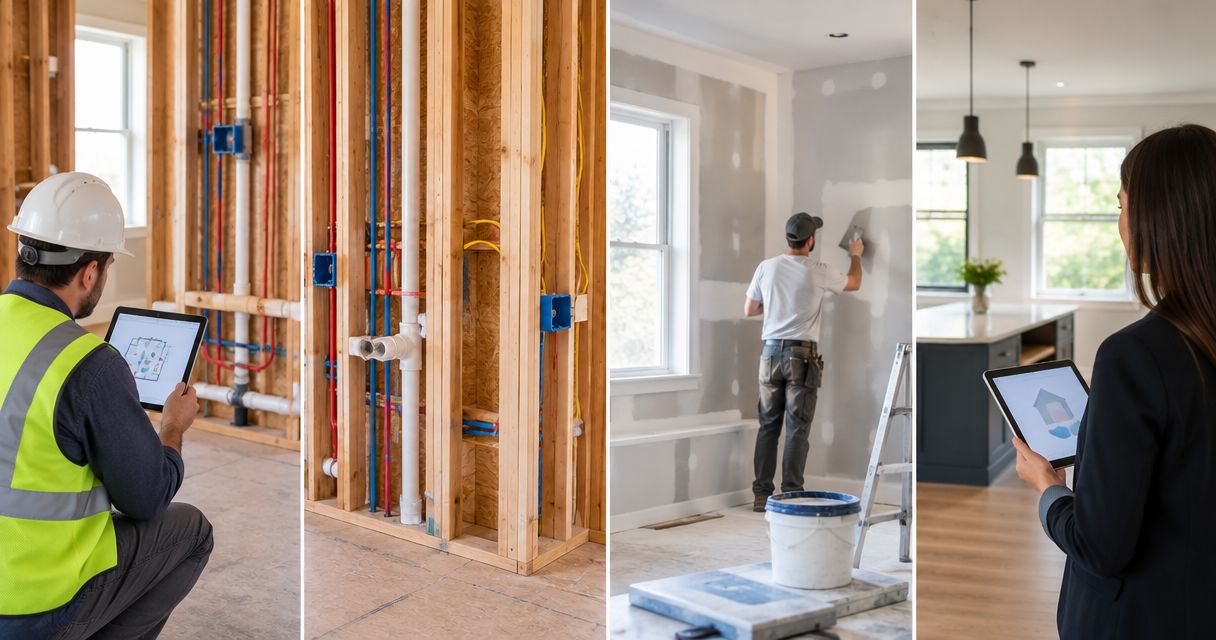
Rough-in is the stage when systems and structural work remain accessible before finishes conceal them. The required inspection scope depends on the project and permit; it is not identical for a kitchen, basement, bathroom, or addition.
- Check readiness with the responsible trades. Confirm that the work scheduled for inspection is complete, accessible, and ready for any required testing. Have the applicable approved plans and installation information available.
- Protect access. Keep inspected areas visible and clear. Do not let a drywall delivery, stored materials, or early finish work block the inspector's access to the scheduled work.
- Review the written result. Identify exactly what passed, what remains unresolved, and whether the inspector authorized the next phase. Ask for clarification when the result covers only part of the project.
- Close corrections before concealment. Assign each correction, document completion, and arrange reinspection when required. Release the affected work for covering only after the required approval.
Expected result: The contractor knows which areas can advance and which must remain open.
In your 2026 project log, place the approval record next to the task it releases. “Electrical rough-in approved” should not automatically release unrelated framing, plumbing, insulation, or other work that still needs its own approval.
Use this sequence as a tracking model, not as a universal inspection schedule. The permitting authority determines the actual checkpoints and release conditions for your remodel.
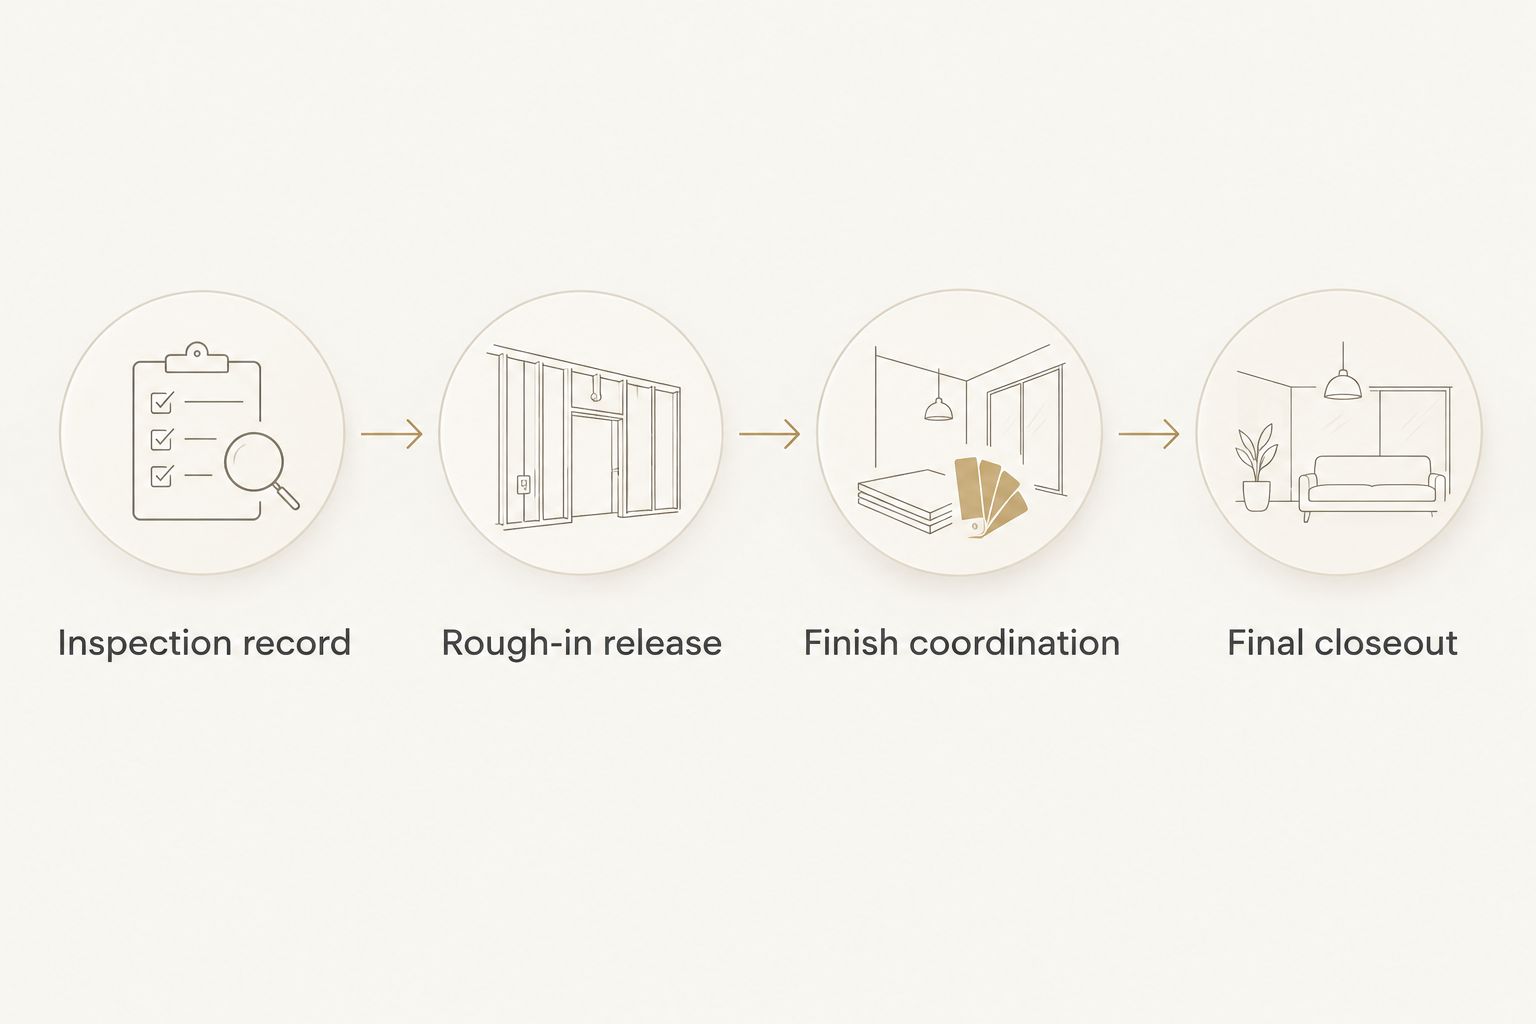
Finish coordination
Once the required approvals allow work to advance, coordinate the remaining construction around dependencies. A calendar alone does not show whether a room is ready for the next trade.
- Confirm the next release conditions. Check whether insulation, air sealing, waterproofing, or another intermediate stage needs inspection or review before it is covered. Follow the permit requirements and applicable installation instructions.
- Match finishes to the approved scope. Verify fixture locations, cabinet layouts, door swings, and other relevant selections before installation. Resolve discrepancies in writing instead of asking a trade to improvise around them.
- Sequence the dependent work. Have the contractor identify which installations depend on completed surfaces, measurements, connections, or manufacturer-required preparation. Record those dependencies beside the scheduled tasks.
- Check work before the next layer. Review visible workmanship and scope compliance while corrections remain accessible. Keep a separate list for finish defects so they do not get confused with inspection corrections.
Expected result: Finish work follows approved construction and current selections, with unresolved issues assigned before another installation hides them.
Do not use the homeowner's visual approval as permission to skip an inspection. Likewise, do not treat an inspector's approval as acceptance of paint coverage, cabinet alignment, or every other contractual detail.
For an occupied home, add access and protection instructions to this handoff. Agree on which rooms remain usable, where materials are stored, and who communicates interruptions before they occur.
Final closeout
Final closeout has two distinct checks: the required final inspection and the homeowner's walkthrough. Plan both, but document them separately.
| Checkpoint | Main purpose | Useful record | What it does not establish |
|---|---|---|---|
| Final inspection | Determine whether inspected work meets applicable permit requirements | Official inspection result and any required closeout documentation | Acceptance of every finish detail or completion of the entire contract scope |
| Final walkthrough | Compare completed work with the written scope and identify remaining items | Room-by-room punch list and completion records | Official permit approval or authorization to occupy where that authorization is required |
- Confirm final-inspection readiness. Ask the contractor to verify that the work covered by each final inspection is complete and accessible. Check for unresolved earlier corrections before requesting the appointment.
- Record each official result. Save the final results and confirm whether the permit requires additional inspections or documentation. For a 2026 addition or conversion, ask whether a certificate or other occupancy authorization applies before using the new space.
- Walk the agreed scope. Review each affected room with the contract and approved changes in hand. Check installed items, operate ordinary user controls, and identify unfinished or defective work without opening energized equipment or dismantling assemblies.
- Assign and verify punch-list work. Record the location, issue, responsible person, agreed next action, and completion evidence. Check corrected items before marking them closed.
Expected result: You have separate evidence of permit completion and contract completion, plus a clear record of any remaining obligations.
Use specific descriptions. “Kitchen drawer beside dishwasher rubs when opened” gives the contractor a correction to locate; “kitchen needs attention” does not.
When the scope changes after rough-in approval
A changed layout or newly exposed damage needs a revised handoff, not an informal exception. For example, moving a fixture after rough-in approval changes the work that was inspected.
- Pause the affected work. Identify which approved plans, installed systems, and upcoming tasks the change touches. Avoid covering the changed area while its approval requirements remain unresolved.
- Document the requested change. Update the written scope and relevant drawings. Record the contractor's assessment of dependencies and obtain the required agreement before proceeding.
- Check permit implications. Have the responsible party confirm whether the authority requires revised documents, additional review, or another inspection.
- Rejoin the workflow at the right checkpoint. Return the affected work to its applicable inspection stage, then release it again after the required approval.
The same approach applies to reconstruction when demolition exposes conditions beyond the original scope. An earlier approval does not automatically cover later alterations. Keep unaffected work moving only where the contractor confirms that doing so does not obstruct the correction or required review.
Troubleshooting
The inspector leaves a correction notice
Keep the affected work accessible. Copy each correction into the project log, assign responsibility, and confirm whether reinspection is required. Do not close the item based only on a verbal statement that someone fixed it.
Drywall starts before the required approval
Stop the affected concealment work and contact the responsible inspection authority. Follow its direction on access, documentation, and any necessary exposure of the work. Photos do not guarantee that the authority will accept concealed conditions.
The inspection was booked, but nobody has a result
Check the permit record or contact the responsible office through its established procedure. Until you confirm the result and release conditions, keep the next dependent task on hold. A calendar entry proves only that an appointment was planned.
A fixture or layout changes during finish work
Compare the change with the approved scope and plans. Have the contractor determine whether it affects connections, clearances, structural work, or required review, then document the revised handoff before installation continues.
The final inspection passes, but the walkthrough finds defects
Keep the inspection approval and punch list separate. Assign the contractual defects for correction and verify the completed repairs. Do not erase unresolved finish issues merely because the permit inspection passed.
Customize your workflow
Add room-specific checks to the same inspection log rather than creating disconnected lists. For a bathroom, coordinate fixture locations and waterproofing requirements; for a basement, address moisture conditions and the requirements tied to the intended use; for an addition, include its structural and exterior handoffs.
If your scope is still taking shape, use the design consultation to permit-ready plans workflow to organize the decisions that precede construction. The benefit of a shared log is visibility; the trade-off is that someone must maintain it and reconcile it with official records.
Ask Phoenix Construction Solutions to discuss your Central Iowa remodeling scope, permit responsibilities, and closeout expectations. Bring the current plans or scope notes, not just inspiration photos.
Book a Consultation
Discuss your remodeling, addition, or reconstruction project in Des Moines or Central Iowa.
FAQ
What is the rough-in to final inspection remodel process?
The rough-in to final inspection remodel process tracks required inspections, corrections, permission to conceal work, finish installation, and final permit review. Keep the homeowner walkthrough separate so you also verify the written scope and remaining defects.
Can the contractor install drywall right after the rough-in inspection?
Drywall should proceed only after the required approvals authorize covering the affected work. Other checkpoints, such as insulation inspection, can still apply; confirm the sequence with the responsible permitting authority.
Is a final inspection the same as a final walkthrough?
No. A final inspection addresses applicable permit requirements, while a final walkthrough compares completed work with the contract scope and identifies remaining corrections.
Who schedules the inspections during a Central Iowa remodel?
Assign inspection scheduling to the responsible party before construction starts. Confirm the permit authority's procedure and identify who receives results, coordinates corrections, and releases the next task.
What happens if my remodel fails an inspection?
Document the correction notice, keep affected work accessible, and have the responsible trade complete the corrections. Arrange reinspection when required and obtain approval before advancing dependent work.
Can I move into an addition after the final walkthrough?
A walkthrough alone does not establish permission to occupy an addition. For a 2026 project, confirm final permit requirements and any applicable occupancy authorization with the responsible authority before using the space.
How do I discuss this workflow with Phoenix Construction Solutions?
Call (515) 505-8781 to discuss your Central Iowa remodeling, addition, or reconstruction project. Bring your scope notes and ask who will manage inspections, approval records, changes, and the final punch list.
One last thing
Photograph accessible work before approved concealment, but keep the official approval alongside the photos. The images help you understand what is behind finished surfaces; the approval documents explain why construction advanced. Neither record should replace the other.